How To Unlock A Disabled iPhone With An Android Phone?

Have you ever come across an iPhone that is disabled? Your daily routine may be disturbed if you find yourself locked out of your iPhone due to system failures, forgotten passcodes, or other problems. However, what if we told you that an Android phone could be used to unlock a disabled iPhone without the need for a computer?
We’ll examine several creative methods in this post for How To Unlock A Disabled iPhone with an Android phone. It will offer thorough, detailed instructions along with the necessary tools to safely and securely unlock your disabled iPhone once more without jeopardizing its security.
How Many Times an iPhone Enters the Wrong Passcode Before Being Disabled?

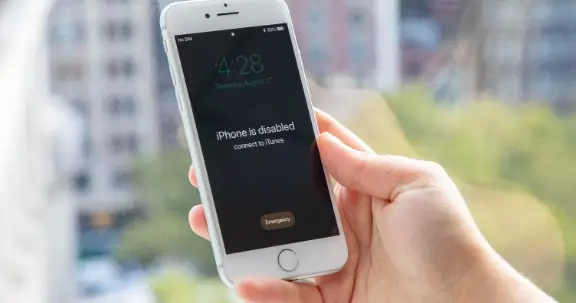
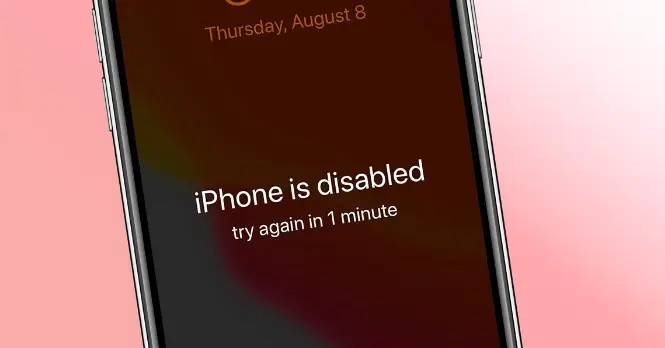
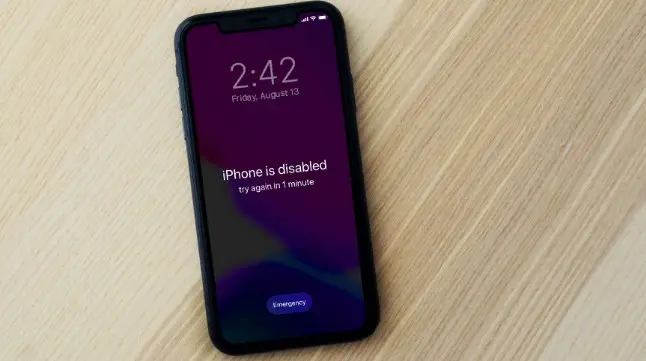
You are permitted to enter an incorrect passcode up to six times in a row. The iPhone shows a “Disabled” notice on the screen after the sixth attempt before momentarily shutting off. After each incorrect entry, there is a longer wait until the next attempt, which discourages any possible unwanted access.
The iPhone instantly switches itself off permanently and displays “Disabled” on the tenth failed attempt. It prevents further attempts at illegal access and upholds the privacy of the user’s data. Is it feasible to unlock a disabled iPhone without using iTunes, iCloud, or a computer? Yes, in fact. For more details, keep reading.
How to Use an Android Phone to Unlock a Disabled iPhone?

How To Unlock A Disabled iPhone with an Android smartphone, you must utilize the iCloud website. The device is deleted utilizing Apple’s Find My services in order to unlock it remotely. For this method to work, your iPhone must be online and have the Find My service enabled. Here’s how to unlock a disabled iPhone using an Android phone:
Step 1: Go to the iCloud website using the web browser on your Android device. Once you’ve logged in using your Apple ID, select “Find My” from the menu.
Step 2: You will need to enter your Apple ID password in order to access the “Find My” option. After the password has been entered, all devices linked to this ID will be displayed on the following screen.
Step 3: From the list of possibilities, select the device you wish to unlock. To finish the process, choose “Erase This Device” and carefully adhere to the on-screen instructions.
How to Use iTunes or iCloud to Unlock a Disabled iPhone?

Experiencing an iPhone that is disabled as a result of incorrect inputs can be distressing. Apple offers a number of ways to unlock and regain access to a disabled iPhone. Users can unlock the password lock with iTunes or iCloud by following steps unique to each method. This is a comprehensive guide that explains how to unlock an iPhone that is disabled:
All of the device’s data, including the passcode, must be remotely erased in order to How To Unlock A Disabled iPhone using iCloud. Using this strategy, the disabled iPhone needs to be online in order for iCloud commands to be effective. The data on the iPhone will also be erased as part of this process. Users can remotely delete the disabled device and remove all of its data, including the password lock, by utilizing the iCloud “Find iPhone” function.
This method offers a quick and secure way to unlock a deactivated iPhone without needing the previous passcode. To complete the deletion process, users can use any web browser to log into iCloud on a computer. For a detailed tutorial on using iCloud to unlock your iPhone, go to the section above on unlocking an iPhone that has been disabled without the need for iTunes or a computer.
Among other ways to How To Unlock A Disabled iPhone, using iTunes is a reliable solution. It allows users to recover their broken iPhones by deleting both the phone and the passcode. This method unlocks the device by using a computer to access it and begin a restoration process that unlocks the lock. Customers can use a backup to restore their iPhone with it.
Step 1: Plug in your iPhone that isn’t working to your computer and open the most recent version of iTunes. Now, to enter Recovery Mode on your iPhone, perform one of the following instructions:
For iPhone 6 and earlier models: To begin the procedure, simultaneously press and hold “Home” and “Sleep/Wake.” Release both of these buttons as soon as the Recovery Mode screen appears.
Regarding the iPhone 7 Series: In this case, you must press and hold the “Volume Down” and “Sleep/Wake” keys at the same time. Release the buttons only when your device has properly booted into Recovery Mode.
For the iPhone 8, press and hold the “Volume Up” button first, and then repeat the same with the “Volume Down” button. Lastly, hold down the “Side” button on your smartphone until the Recovery Mode screen appears.
Step 2: iTunes will automatically detect your iPhone once it is in “Recovery Mode.” You’ll be given the option to either “Update” or “Restore” your gadget. From this option, choose “Restore,” then adhere to the on-screen directions.
